Litter-Robot 3: Key and plug installation guide
If you ordered your Litter-Robot 3 before February 2018, your unit may have an internal shield. The internal shield is a possible cause for the “Three lights flashing” fault.
We strongly recommend removing the internal shield from your unit.
If your unit has an internal shield, you will need to remove it before installing the key and plug kit. The internal shield is not necessary for the unit to function and was removed from the design in March 2018. Reinstalling the internal shield is not recommended.
You will need:
- Phillips-head screwdriver
Remove the internal shield
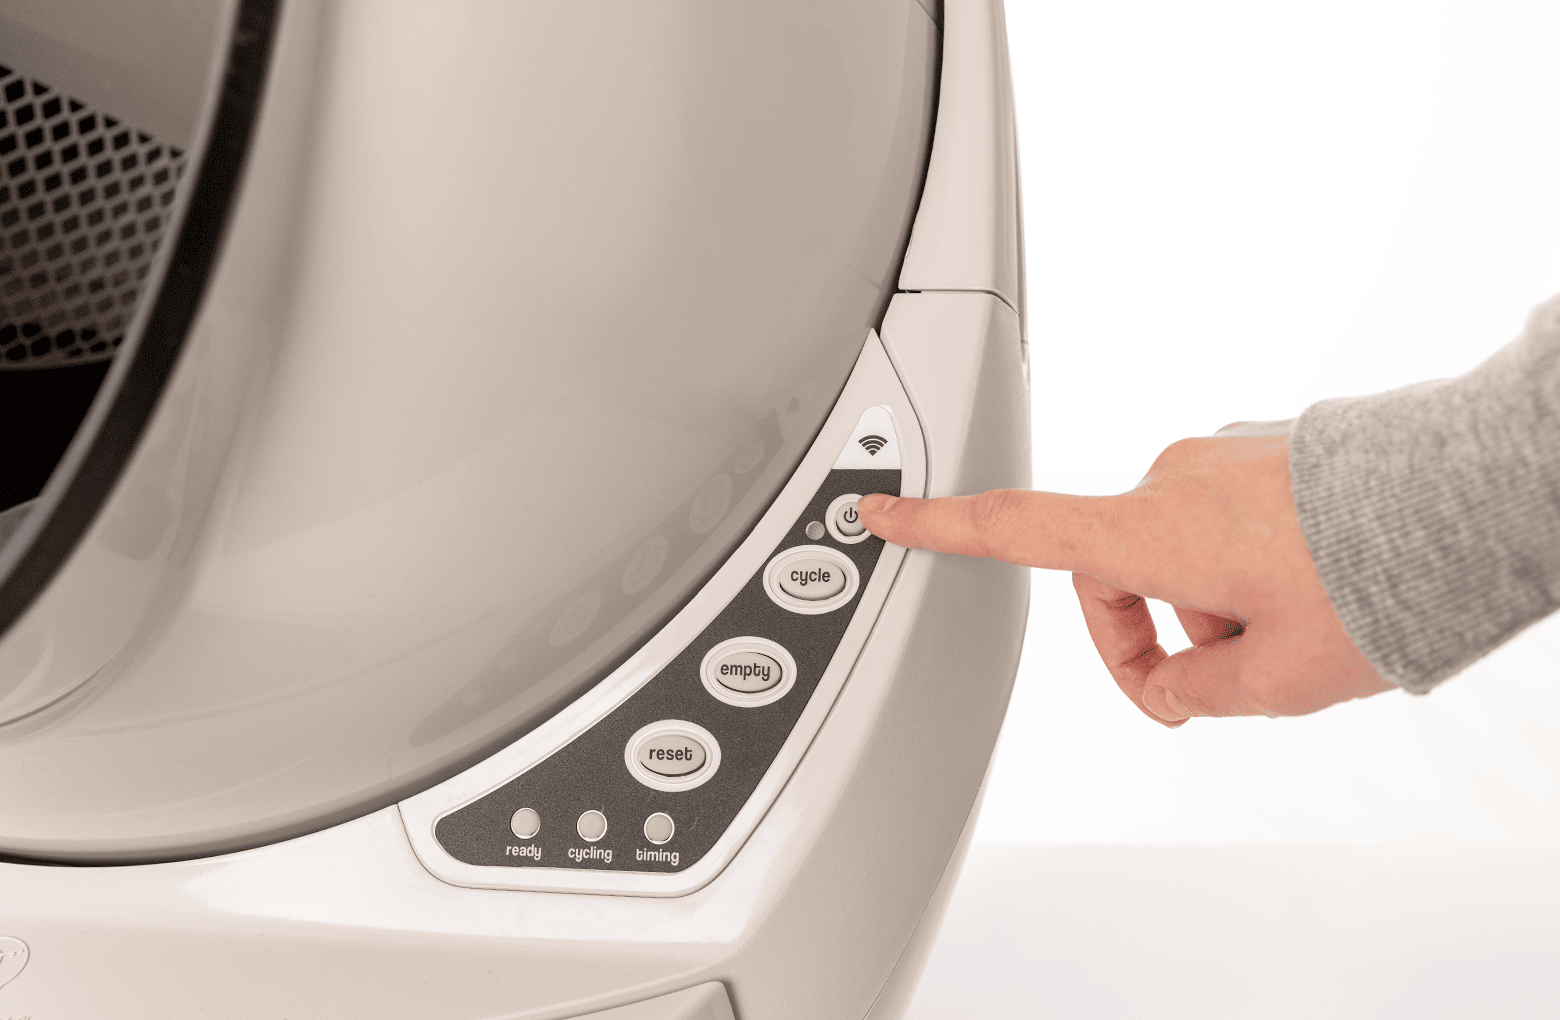
- Press the Power button to turn the unit off and unplug the unit from the wall.
![]()
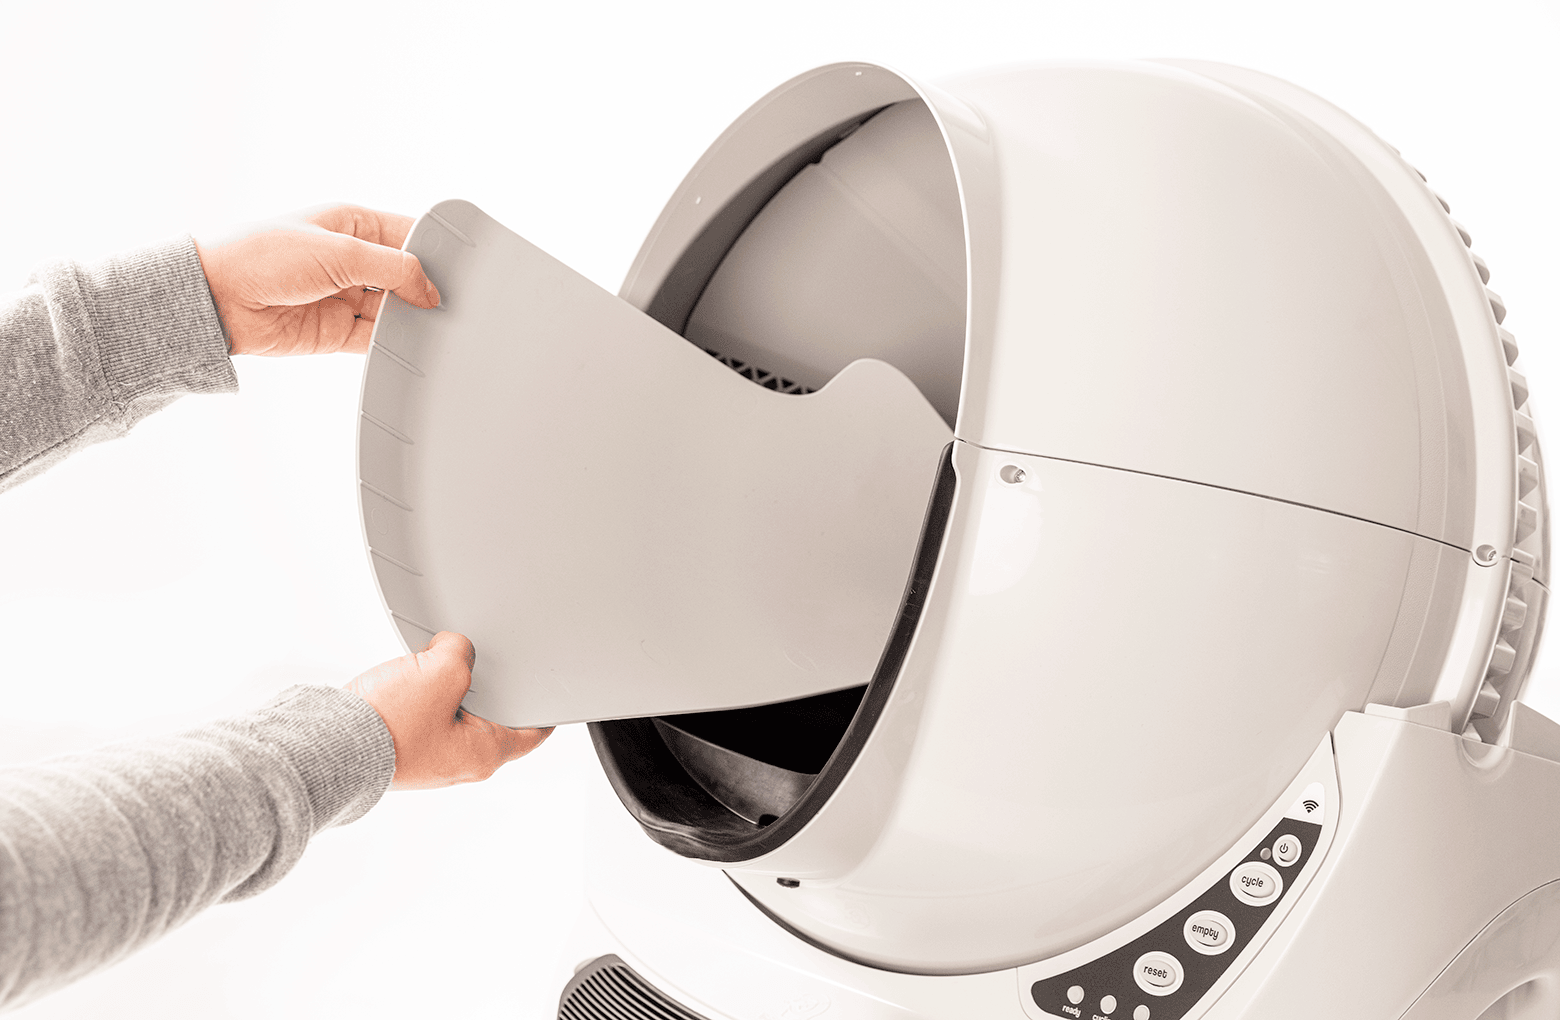
- Press the bonnet tabs on either side of the unit to release the bonnet.
![]()
- Rotate the bonnet backward and lift the bonnet up to remove it from the unit.
![]()
Optional: Empty the waste drawer and clean the globe with water and a mild soap. If the globe has become extremely dirty, it can be soaked and cleaned with a water hose or power washer. It's important to deep clean your Litter-Robot every 3-6 months.
If you use the Whisker app, press Reset Gauge in the Controls section of the app when you empty the waste drawer to reset the waste drawer level in the app.
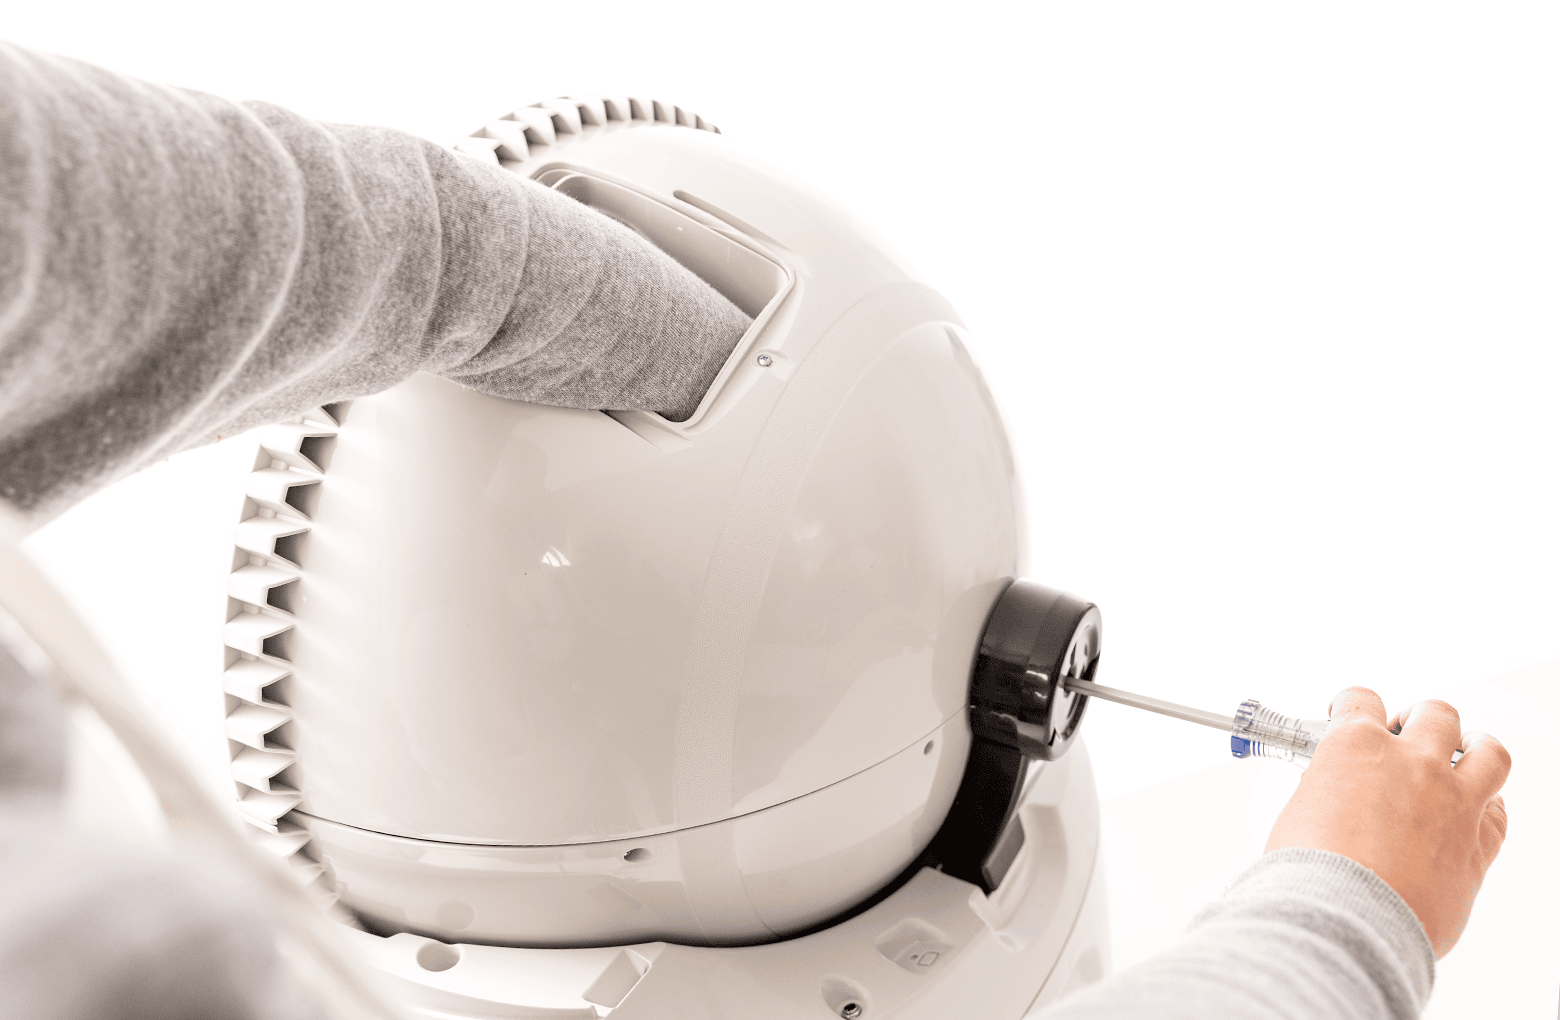
- Remove the screw from the center of the black key on the back of the globe.
![]()
- Once the key is removed, you can easily pull the internal shield out from the entrance of the globe. The shield and key can be disposed of; just be sure to follow local regulations in your area.
![]()
Install the key and plug
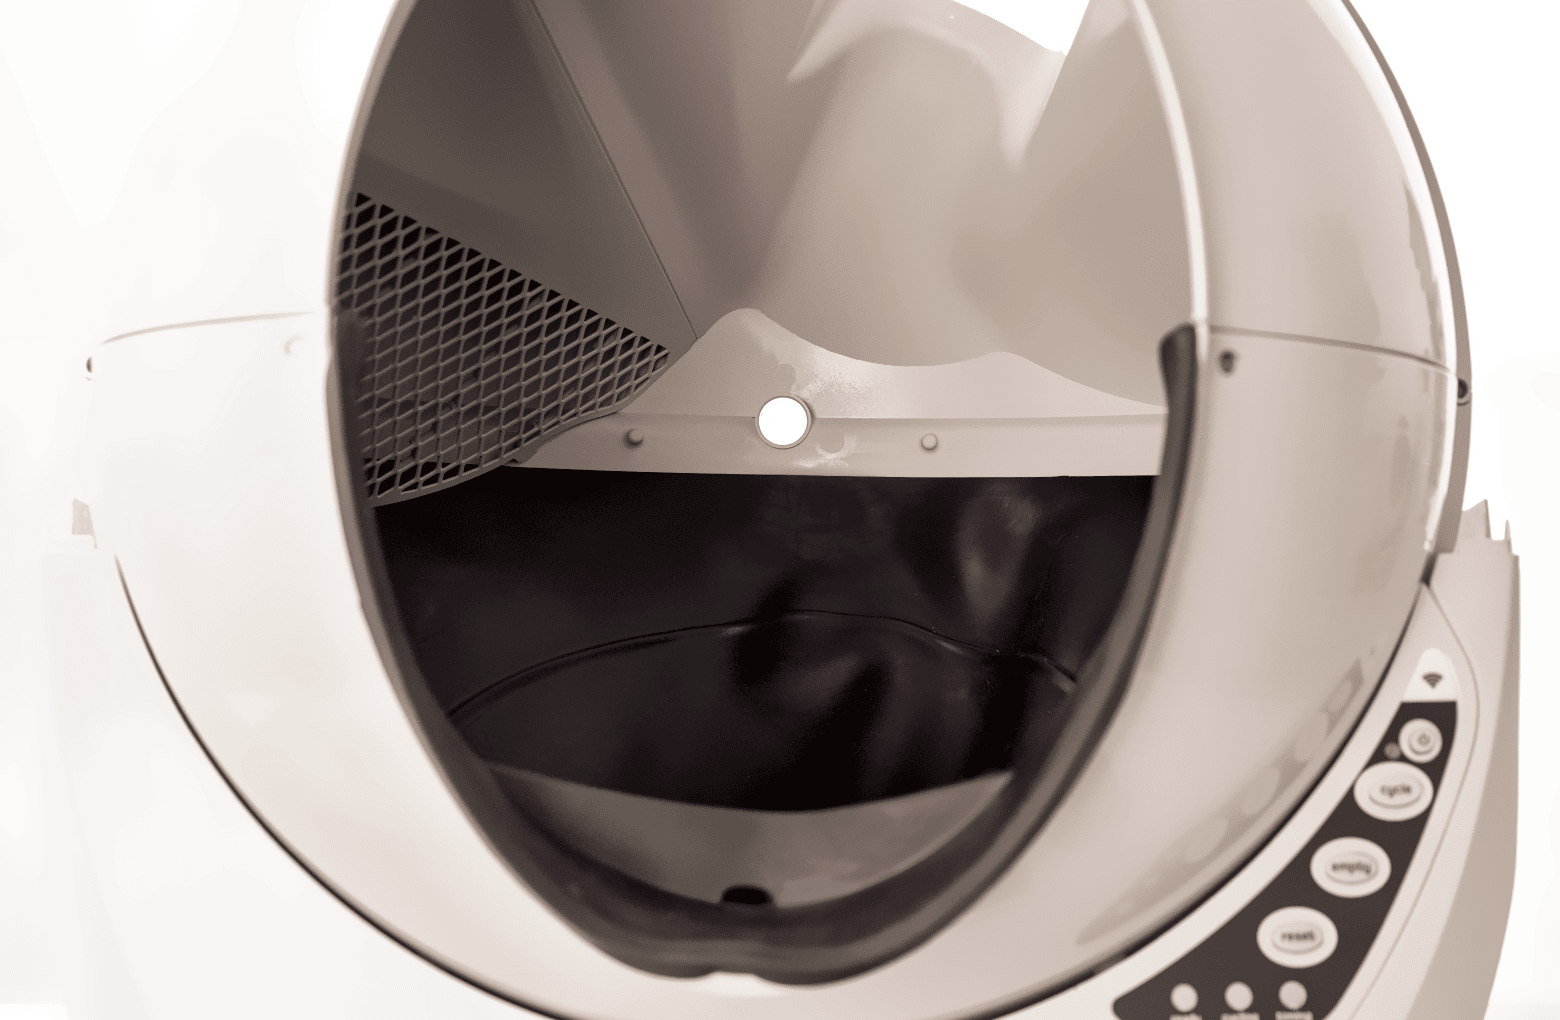
- Now that you've removed your internal shield, the globe has a hole where the shield once was.
![]()
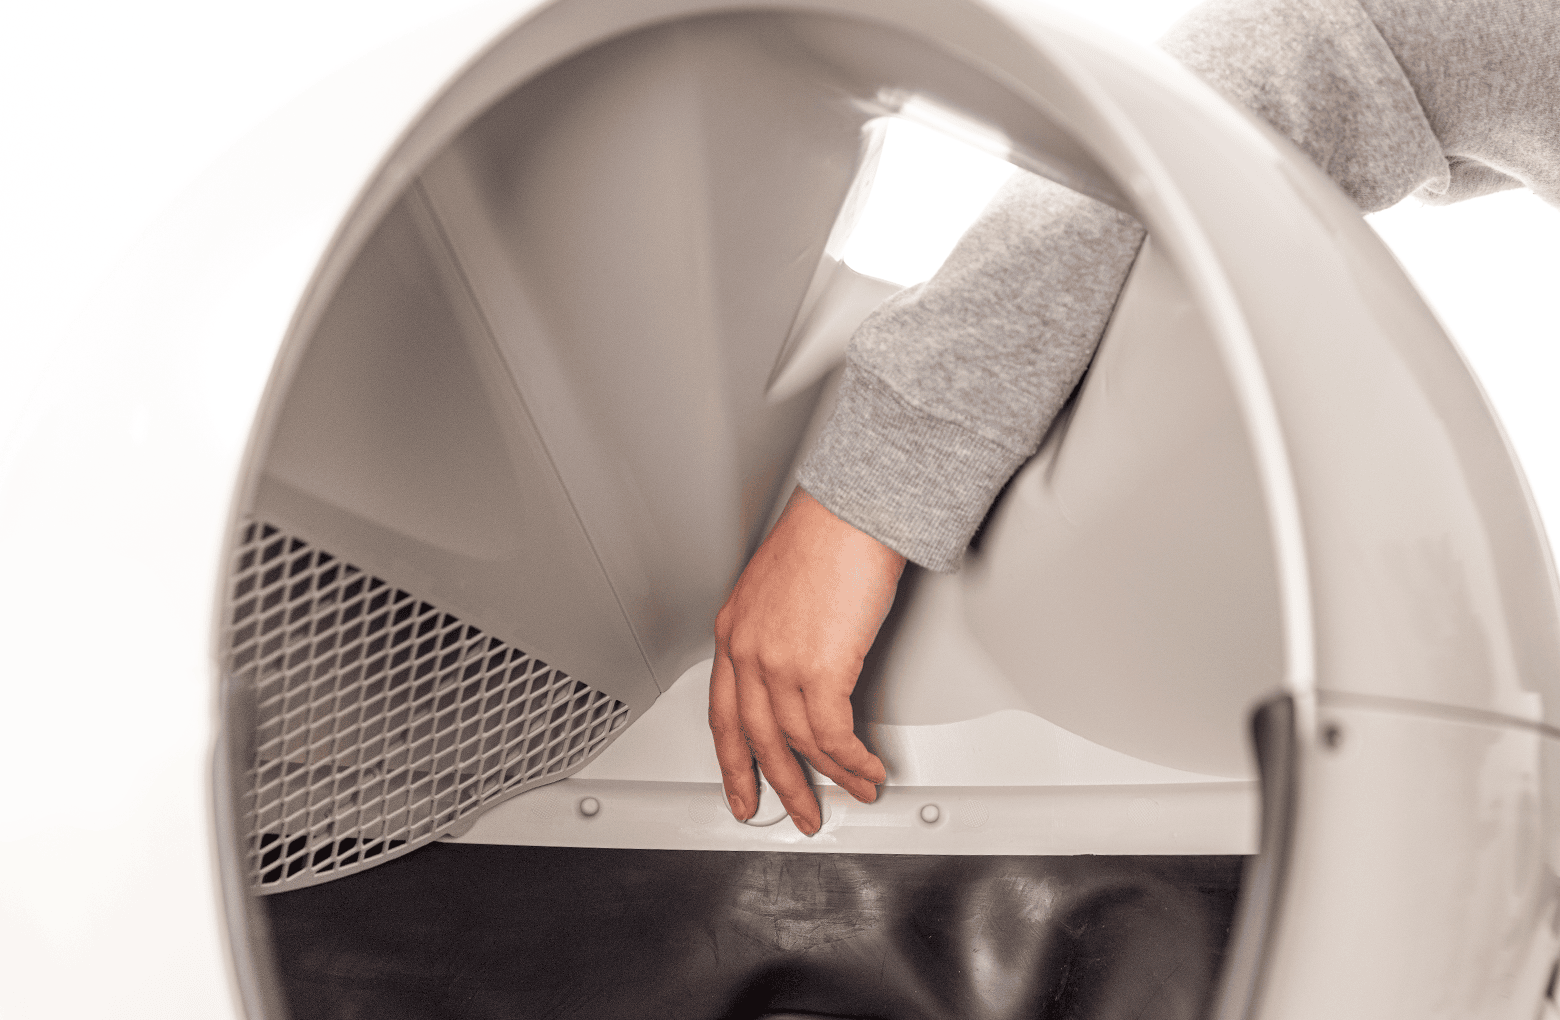
- Inside the globe, reach through the waste port and insert the plug into the hole.
![]()
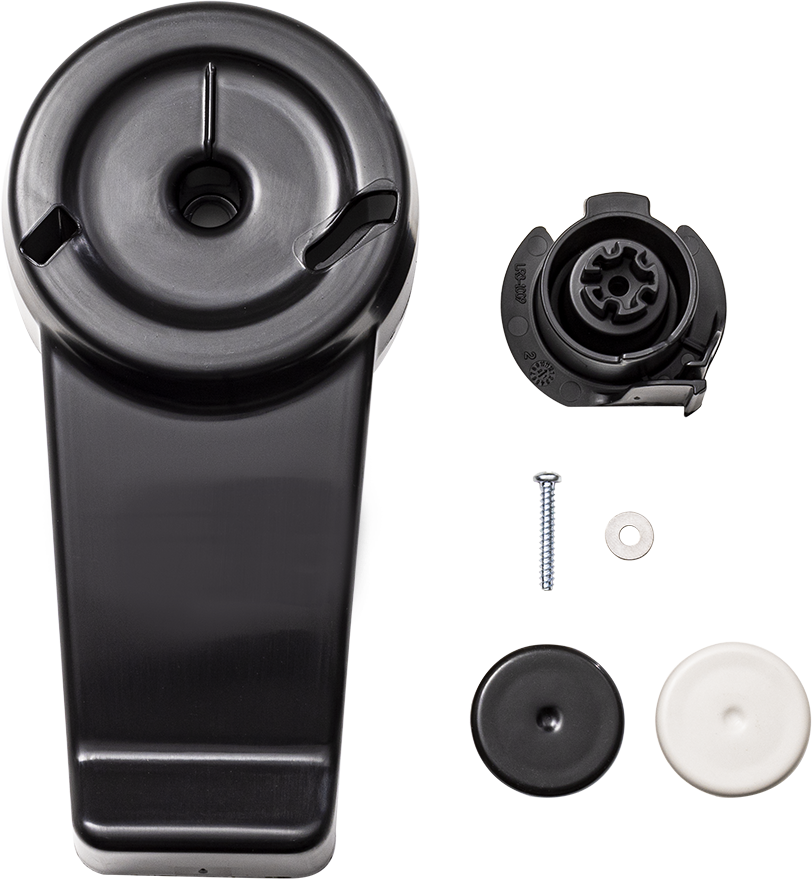
- Set the key insert into the key as shown.
![]()
- Hold the plug in place while you insert the screw through the key from the other side.
![]()
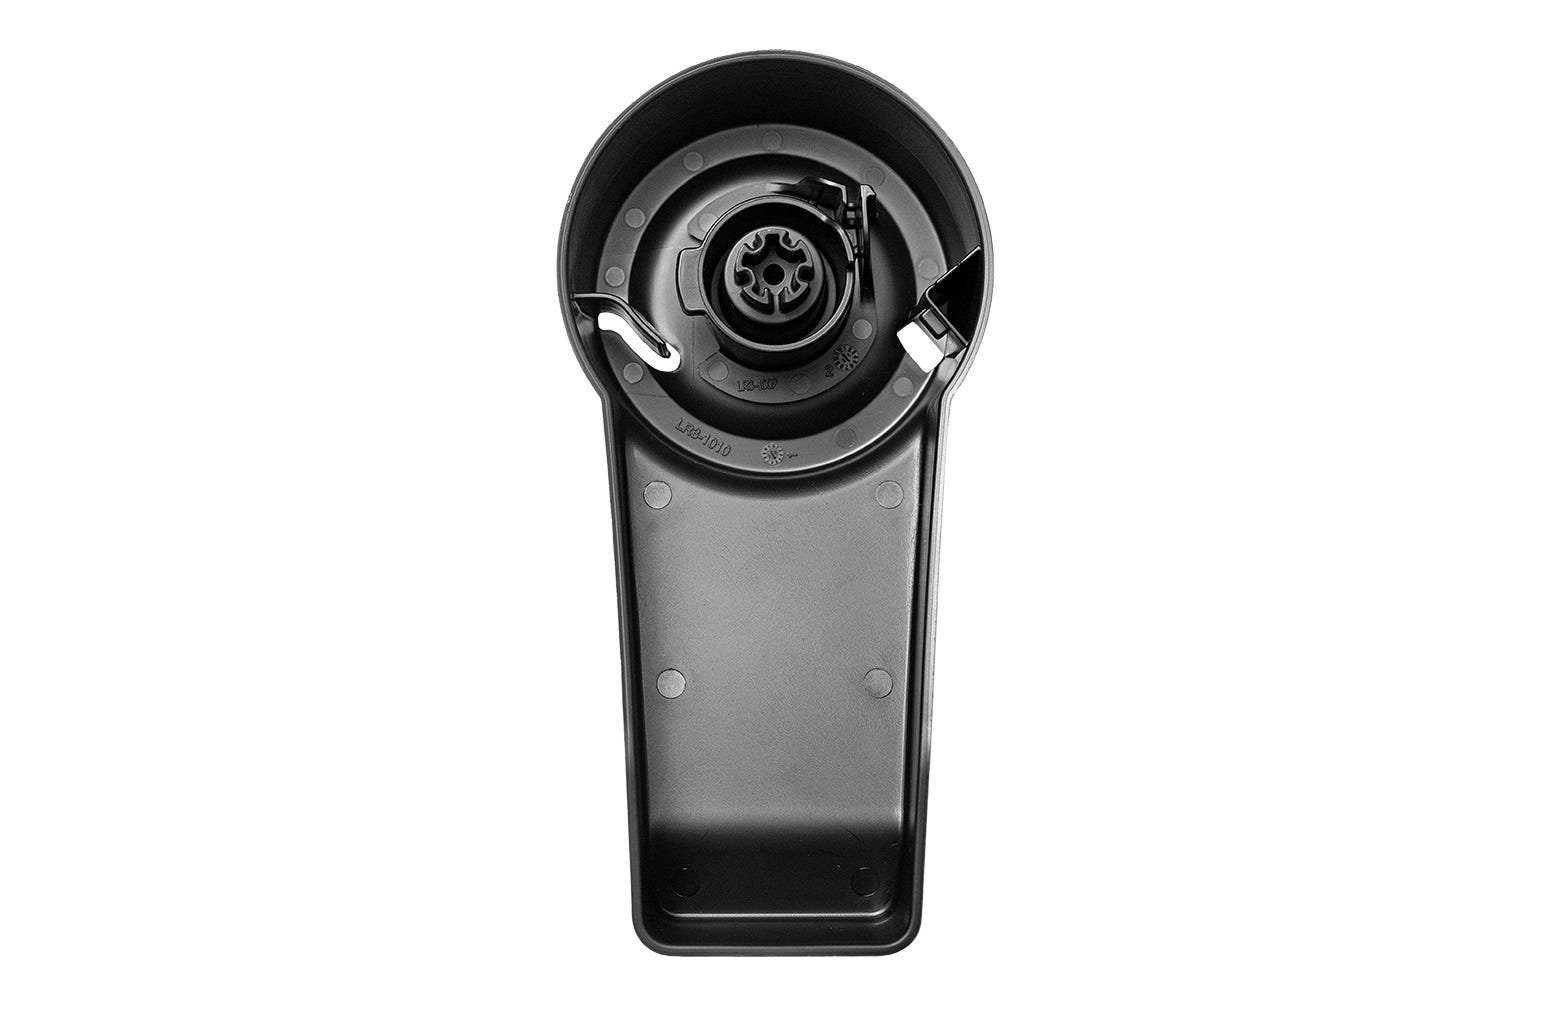
- From the outside of the globe, rotate the key into the pocket of the base.
![]()
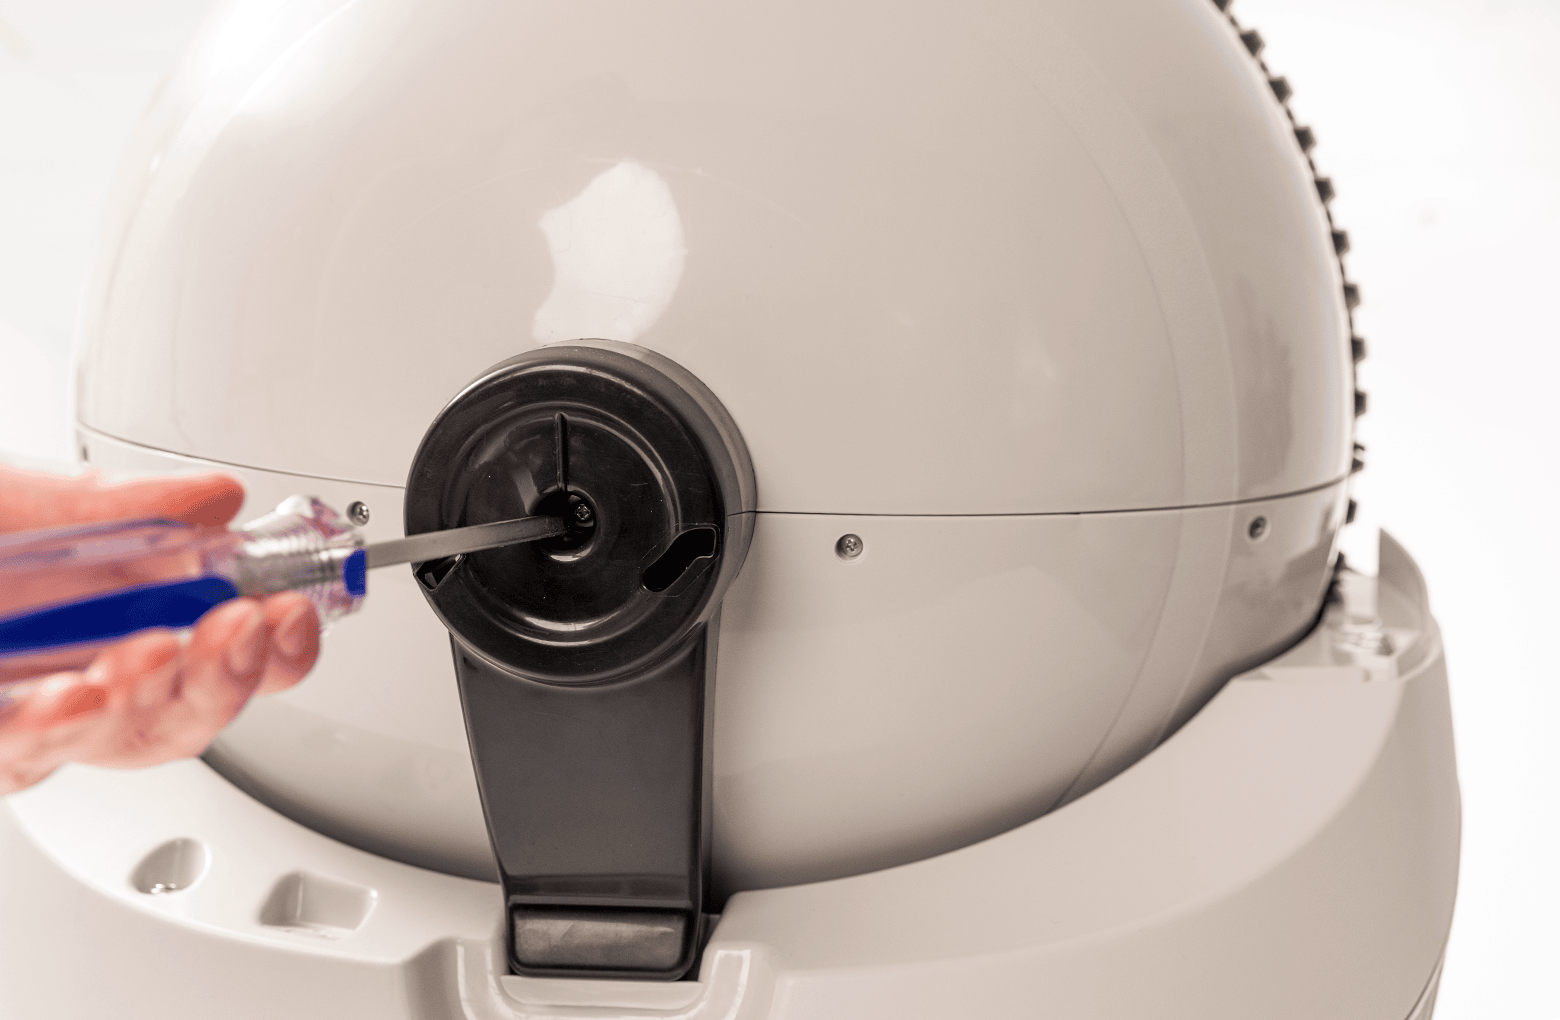
- With a Phillips-head screwdriver, use the screw from your plug kit to fasten the key to the plug.
![]()
- Confirm that the globe is positioned correctly. Visually check that the large gear that runs around the globe is sitting in the track on the base.
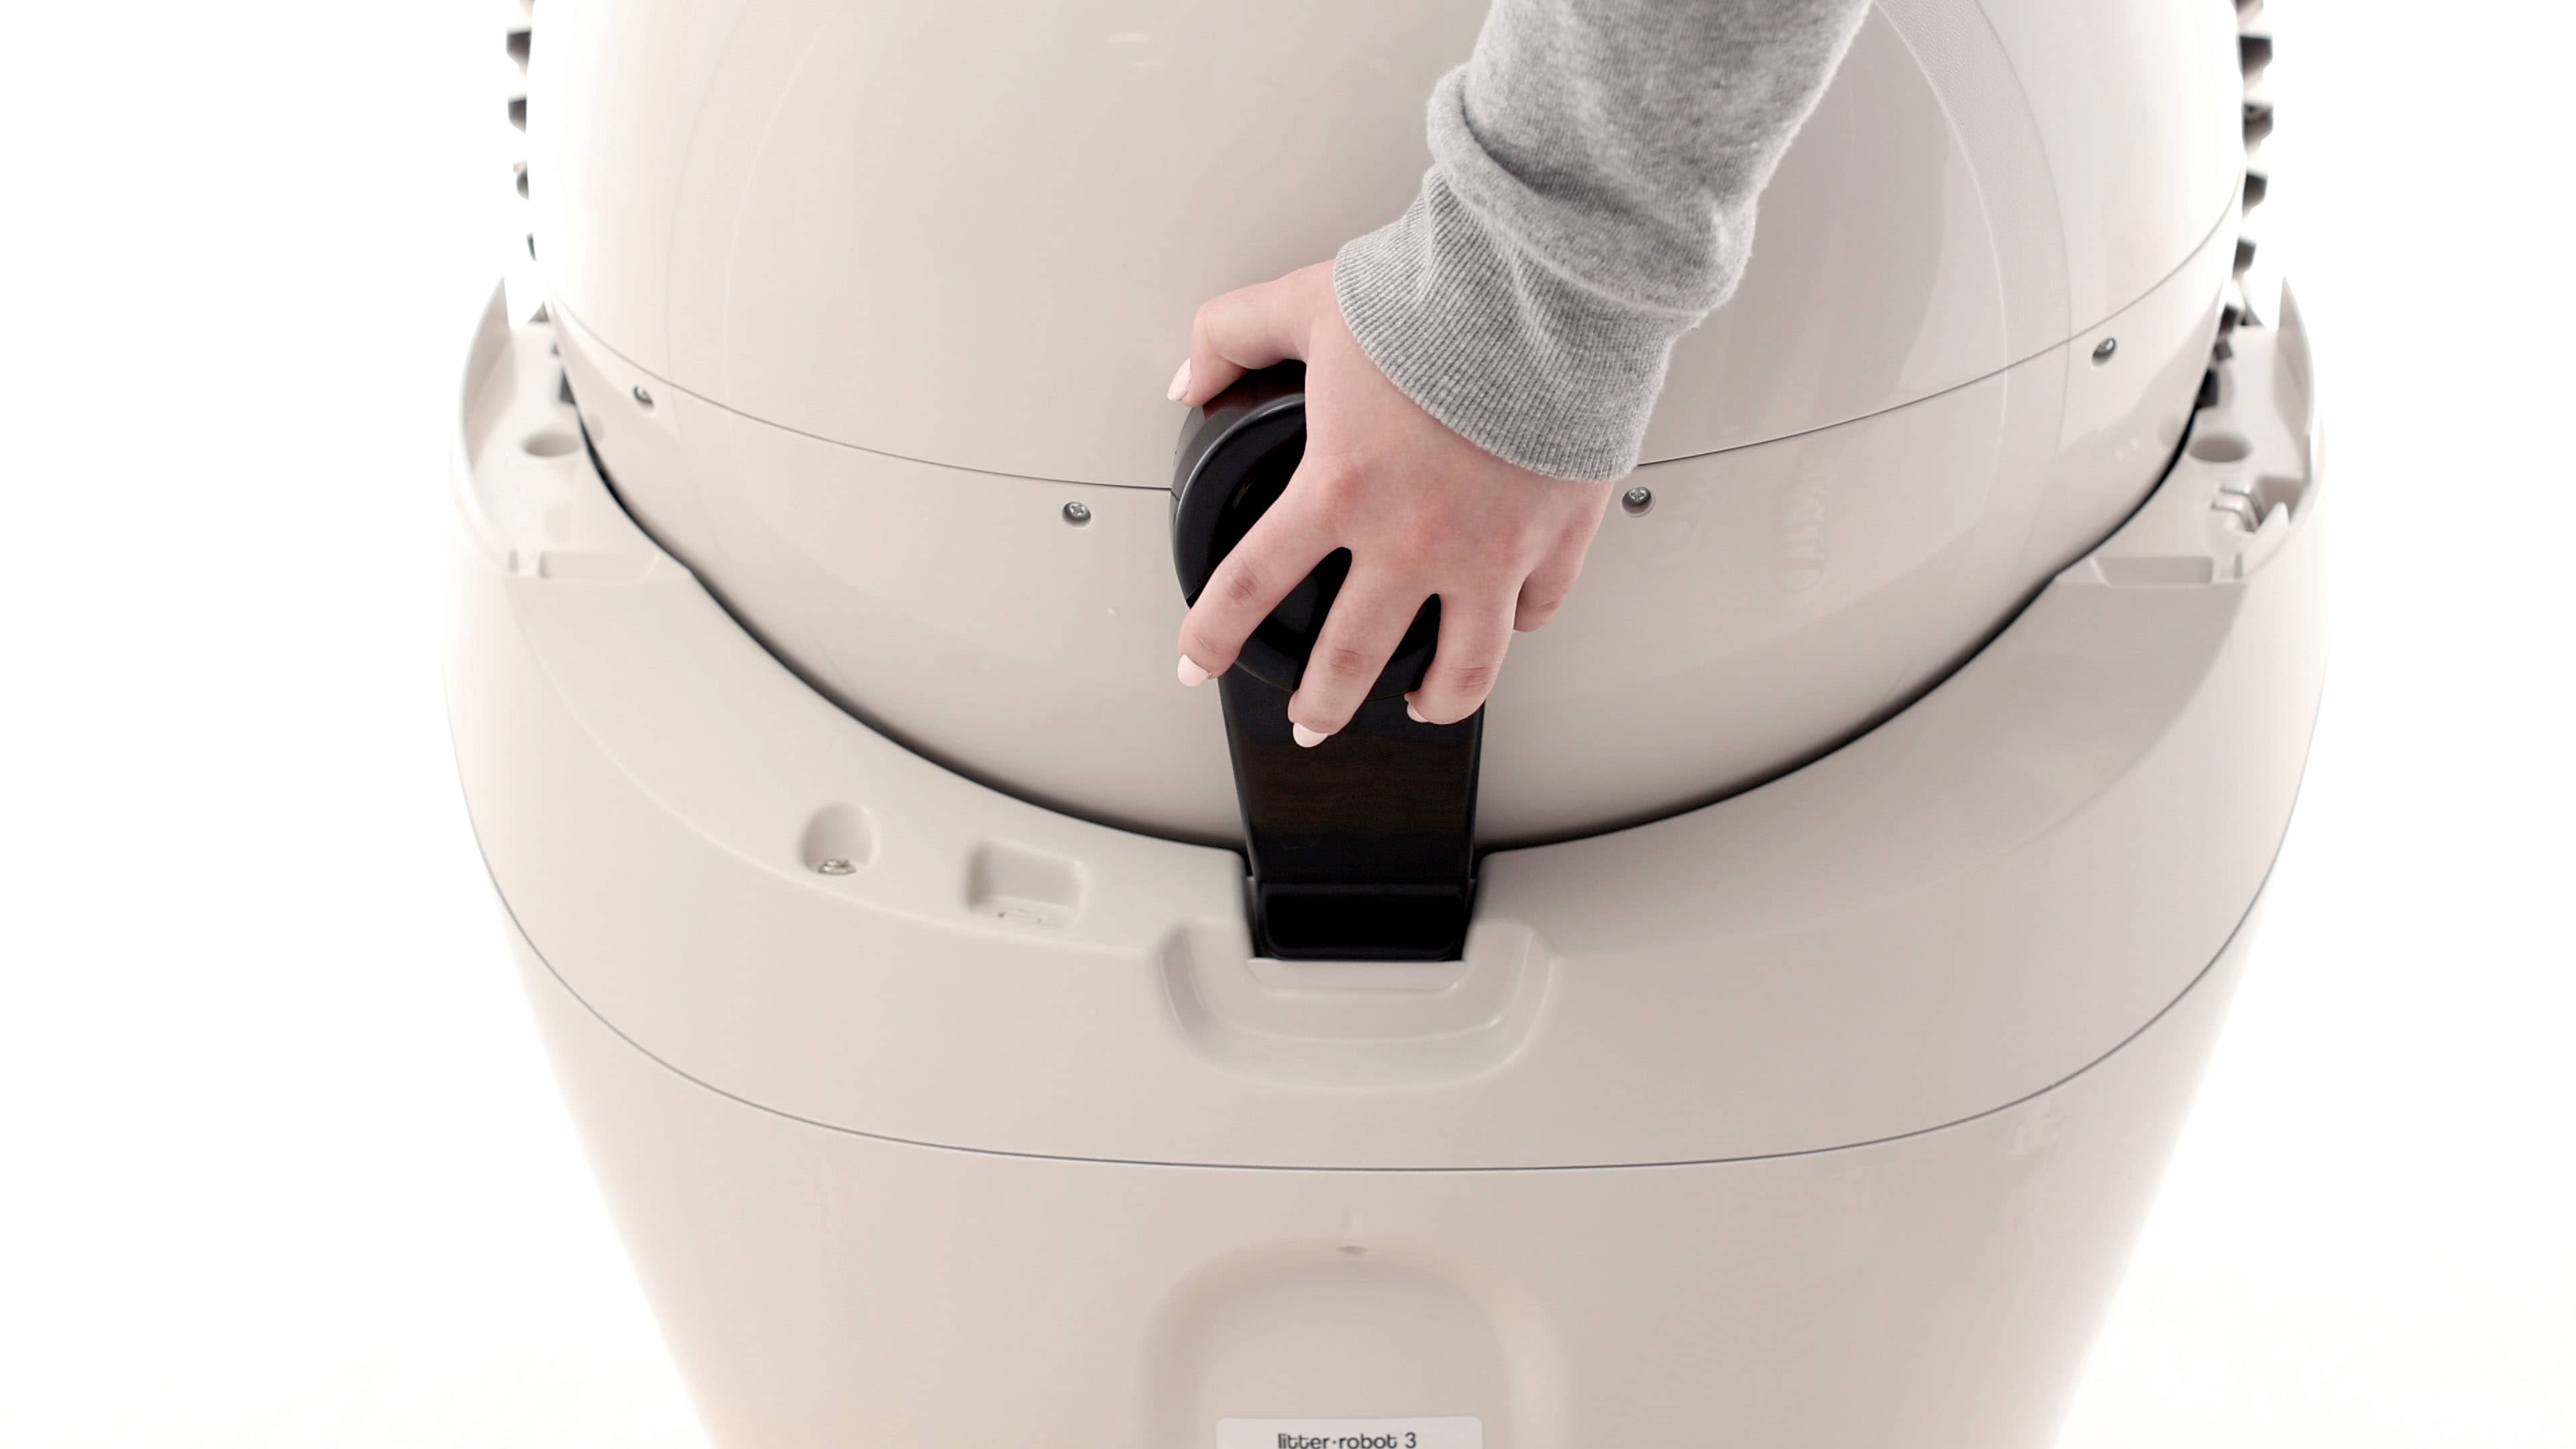
- At the back of the globe, turn the black key into the key pocket.
![]()
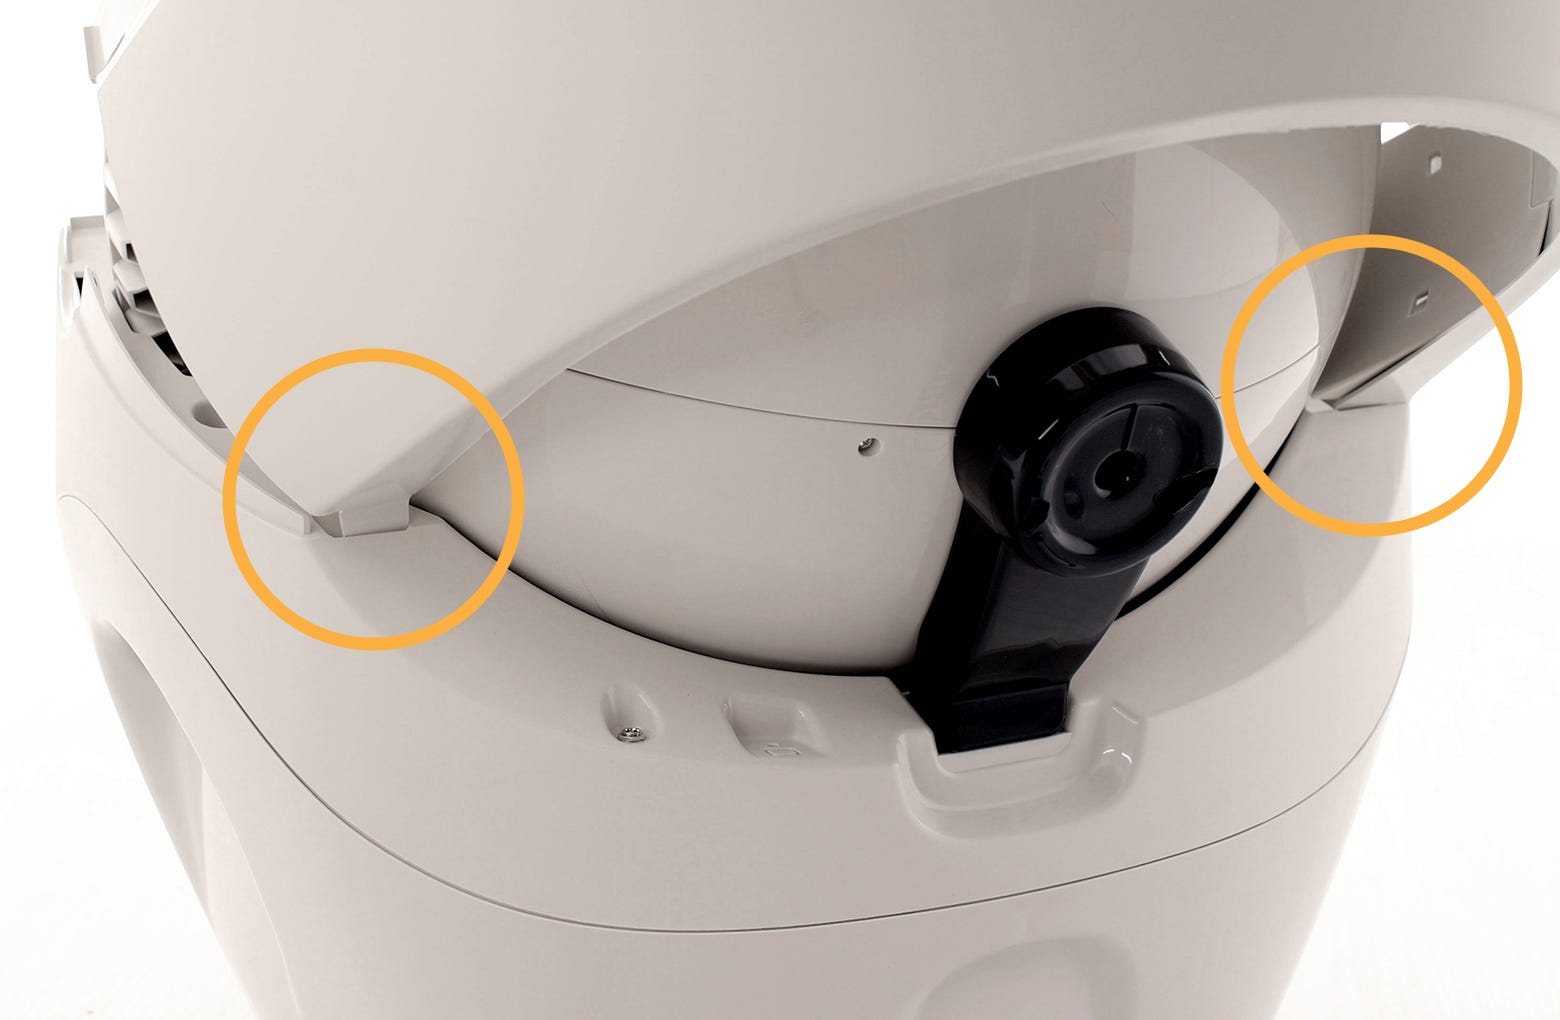
- Replace the bonnet, sliding the tabs on either side into the slots in the base.
![]()
- Rotate the bonnet forward, aligning the tabs with the corresponding slots in the base. Snap the bonnet securely into the base.
![]()
- Plug the unit in and press the Power button to turn the unit on.
![]()
- Once the initial clean cycle is complete, the unit should return to the home position displaying a blue “ready light” status.
![]()
![]()
Purchase Litter-Robot 3 Key and Plug Kit
Questions? Visit whiskersupport.com